キー操作によって、オブジェクト発射の方向を決定できるように、スクリプトを作成しましょう。
十字キーによって、発射方向の座標を1ずつ変化させることができます。
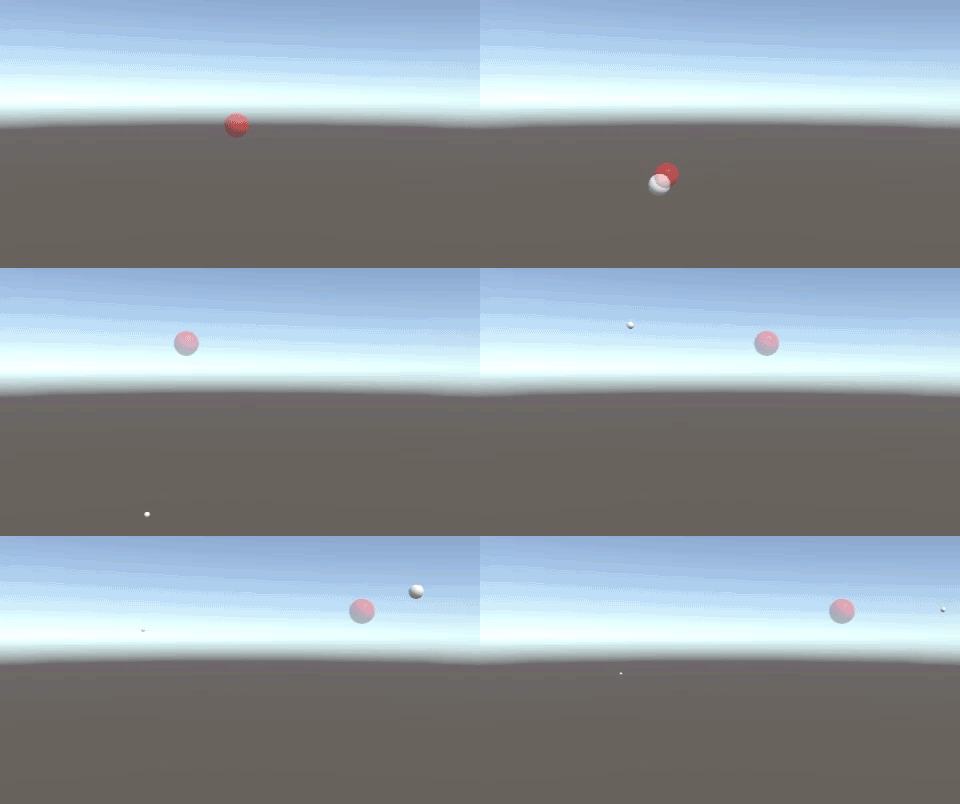
十字キー操作で発射方向を決める
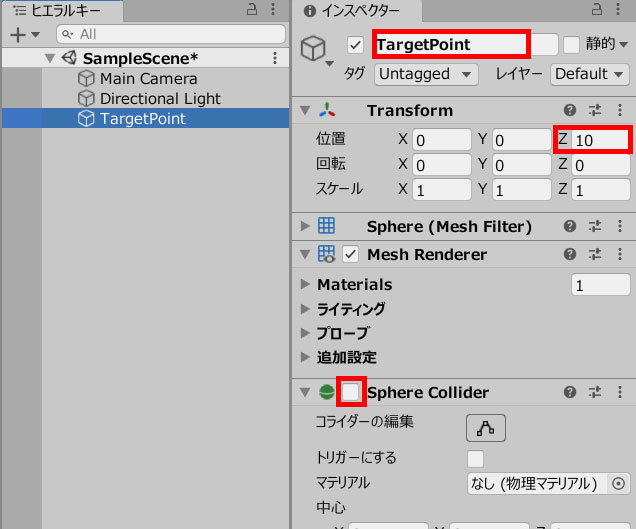
Sphereを作成し、名前をTargetPointに変更。
Z座標を10にして、スフィアコライダーのチェックを外します。
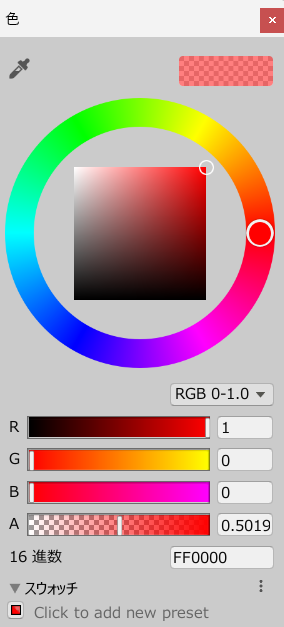
マテリアルを付けて、半透明に設定しました。
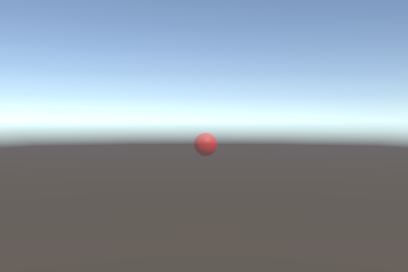
ゲームビューではこのように見えています。
PointChange.csを作成し、TargetPointに追加します。
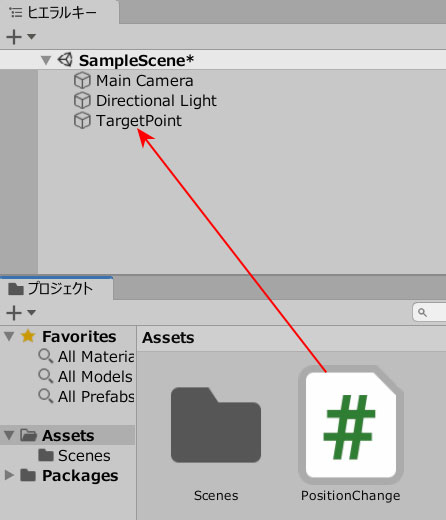
PointChange.csを記述します。
|
1 2 3 4 5 6 7 8 9 10 11 12 13 14 15 16 17 18 19 20 21 22 23 |
using System.Collections; using System.Collections.Generic; using UnityEngine; using UnityEngine.UIElements; public class PositionChange : MonoBehaviour { void Update() { if (Input.GetKeyDown (KeyCode.UpArrow)) { transform.position = new Vector3( transform.position.x, transform.position.y+1, transform.position.z); } if (Input.GetKeyDown (KeyCode.DownArrow)) { transform.position = new Vector3( transform.position.x, transform.position.y-1, transform.position.z); } if (Input.GetKeyDown(KeyCode.RightArrow)) { transform.position = new Vector3( transform.position.x+1, transform.position.y, transform.position.z); } if (Input.GetKeyDown(KeyCode.LeftArrow)) { transform.position = new Vector3( transform.position.x-1, transform.position.y, transform.position.z); } } } |
これにより、発射ポイントを十字キー操作で1ずつ動かすことができます。
ボール発射のしくみ
続いて、スペースキーで発射できるしくみをつくりましょう。
空のオブジェクトを作成し、名前をShotPointに変更します。
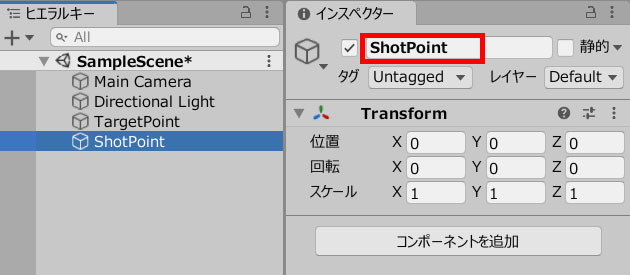
ShotPointのZ位置は、TargetPointよりも手前にしましょう。
ここではZ座標0にしています。
次に、ShotObject.csを作成し、ShotPointに追加します。
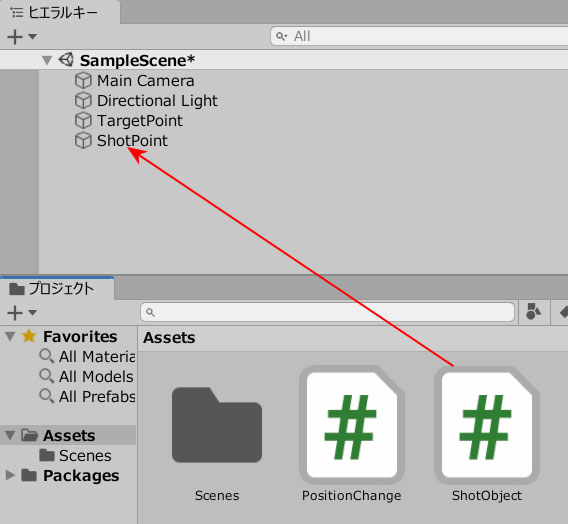
ShotObject.csを記述します。
|
1 2 3 4 5 6 7 8 9 10 11 12 13 14 15 16 17 18 |
using System.Collections; using System.Collections.Generic; using UnityEngine; public class ShotObject : MonoBehaviour { public GameObject prefab; public Transform target; void Update() { if(Input.GetKeyDown("space")) { GameObject ball = GameObject.Instantiate (prefab)as GameObject; ball.GetComponent<Rigidbody>().AddForce(target.position * 300); } } } |
ボールのプレハブデータを作成します。
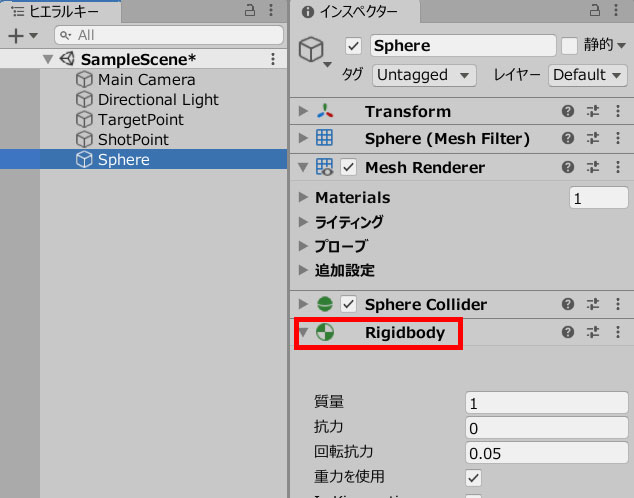
Sphereを作成し、リジッドボディを追加。
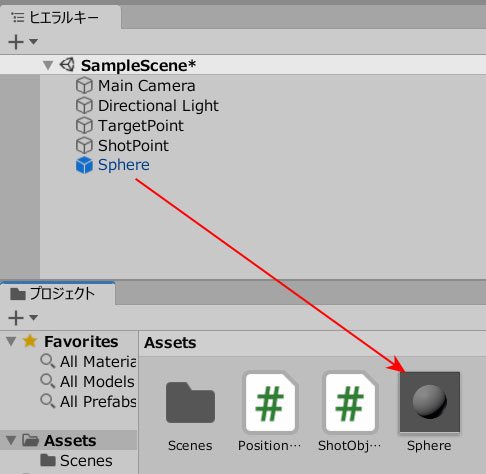
プロジェクトビューにドラッグ&ドロップして、プレハブ化します。
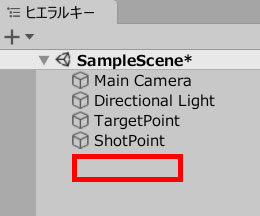
Sphereの元データは削除しましょう。
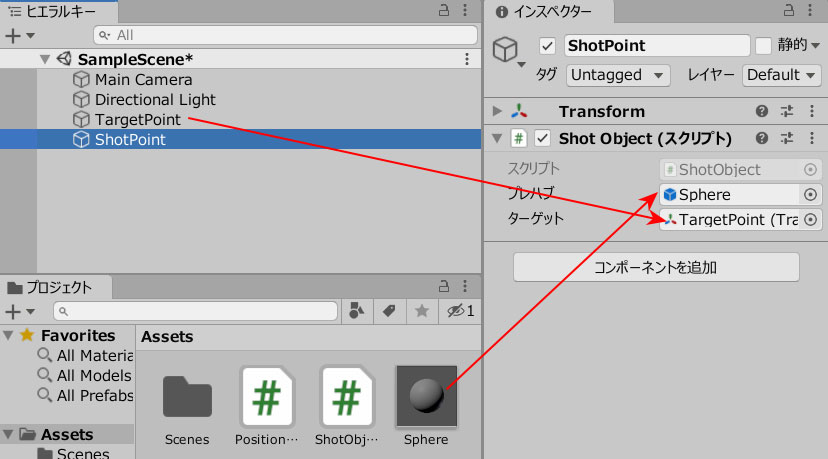
ShotPointを選択し、2つのフィールドに、それぞれオブジェクトを入れます。
ゲームプレイしてみましょう。
十字キーで、狙いを定めて、スペースキーで発射。
狙い(ターゲット)は、キー操作で座標1ずつ変わっていきます。


