左クリックでオブジェクトをリスト(List)に追加。
追加したオブジェクトを右クリックで配置できる仕組みをつくりましょう。
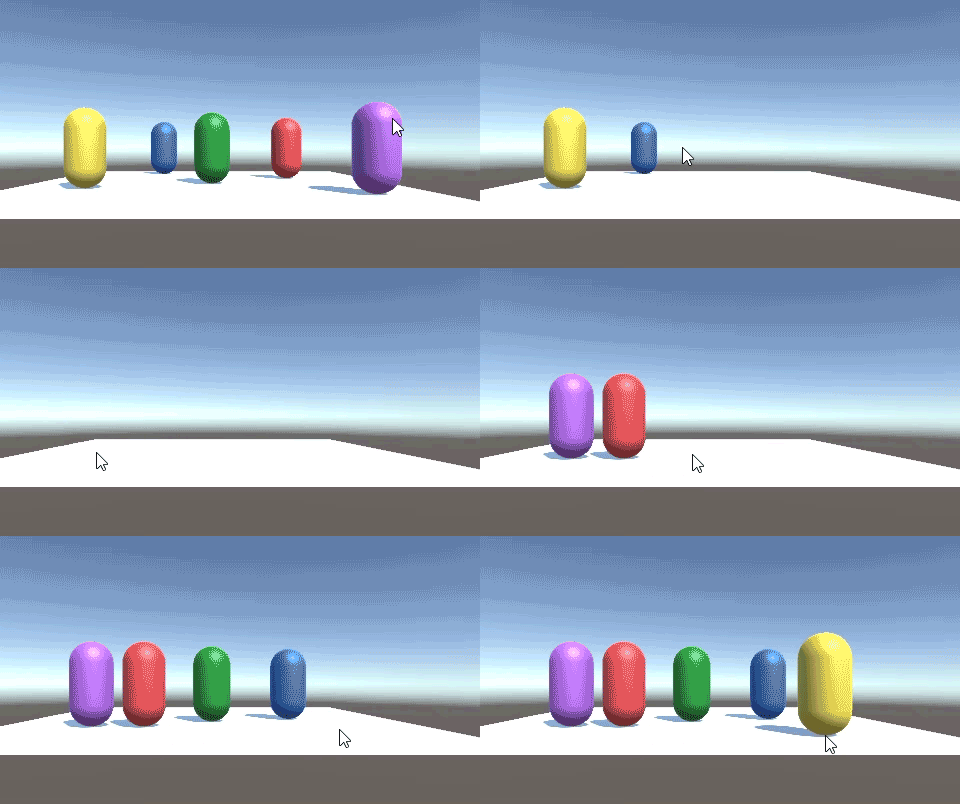
複数オブジェクトをクリックで削除し、リストに格納します。
最初に消した古いほうのオブジェクトから順に、右クリックで置くことができます。
関連記事:
クリックした空間にオブジェクトを置く
クリックした場所にオブジェクトを置く
クリックしたところにPrefabを生成する
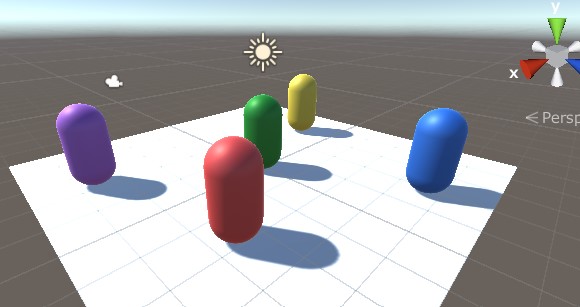
Planeを作成します。
NotDestroyという名前のタグを作って、Planeに付けます。

Capsuleを作成して、いくつか複製。
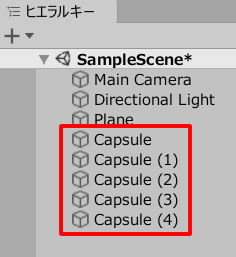
それぞれにカラーをつけて、適当なところに配置します。
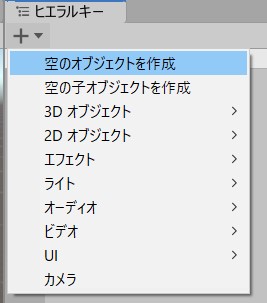
空のオブジェクトを作成します。
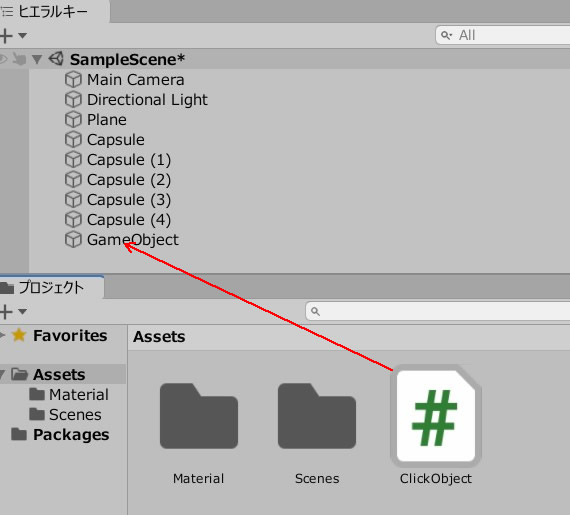
ClickObject.csを作成し、GameObjectに追加します。
ClickObject.csを記述します。
|
1 2 3 4 5 6 7 8 9 10 11 12 13 14 15 16 17 18 19 20 21 22 23 24 25 26 27 28 29 30 31 32 33 34 35 |
using System.Collections; using System.Collections.Generic; using UnityEngine; public class ClickObject : MonoBehaviour { public List<GameObject> myList = new List<GameObject>(); void Update() { Ray ray = Camera.main.ScreenPointToRay(Input.mousePosition); RaycastHit hit; if (Input.GetMouseButtonDown(0)) { if (Physics.Raycast(ray, out hit)) { if(hit.collider.gameObject.tag != "NotDestroy"){ myList.Add(hit.collider.gameObject); hit.collider.gameObject.SetActive(false); } } } if (Input.GetMouseButtonDown(1)) { if (Physics.Raycast(ray, out hit)) { myList[0].gameObject.SetActive(true); myList[0].gameObject.transform.position = new Vector3 (hit.point.x, 1.0f, hit.point.z); myList.RemoveAt(0); } } } } |
ゲームプレイして、Capsuleをクリックしてみましょう。
クリックしたオブジェクトが消えて、myListの中に格納されていきます。
NotDestroyタグをつけたPlaneだけは、クリックしても削除されません。
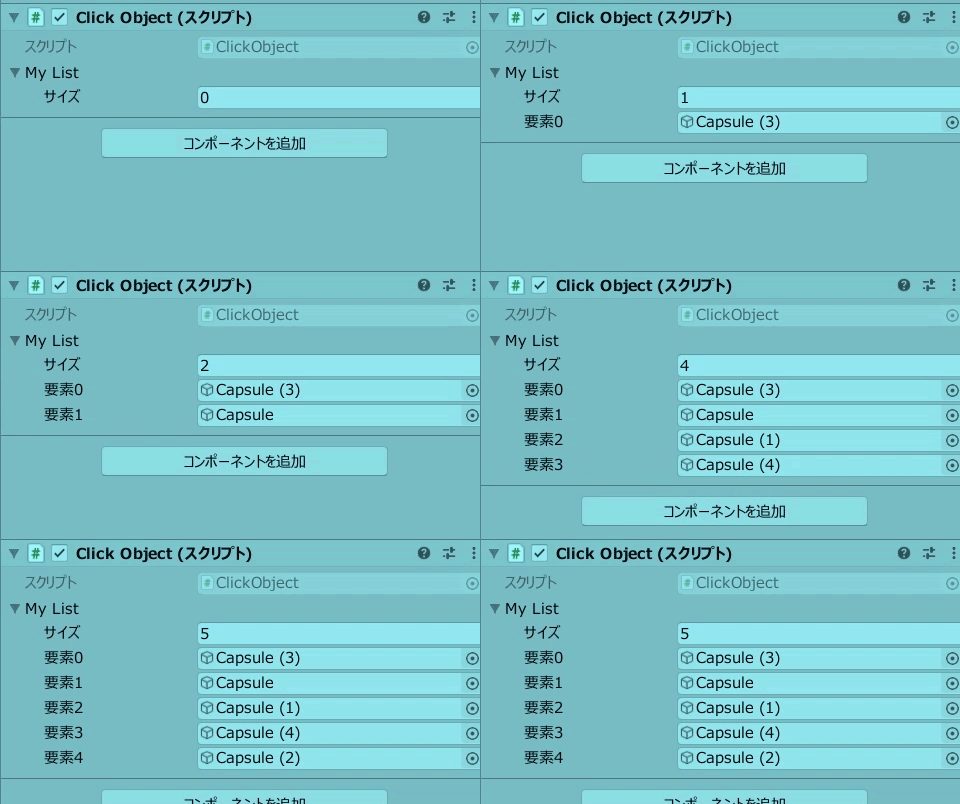
続いて、リストの中のオブジェクトを、右クリックで置いてみましょう。

要素0(一番古いオブジェクト)から、配置することができます。
関連記事:
クリックした空間にオブジェクトを置く
クリックした場所にオブジェクトを置く
クリックしたところにPrefabを生成する


